Solar Inverter Installation
Topic: Solar Inverter Installation
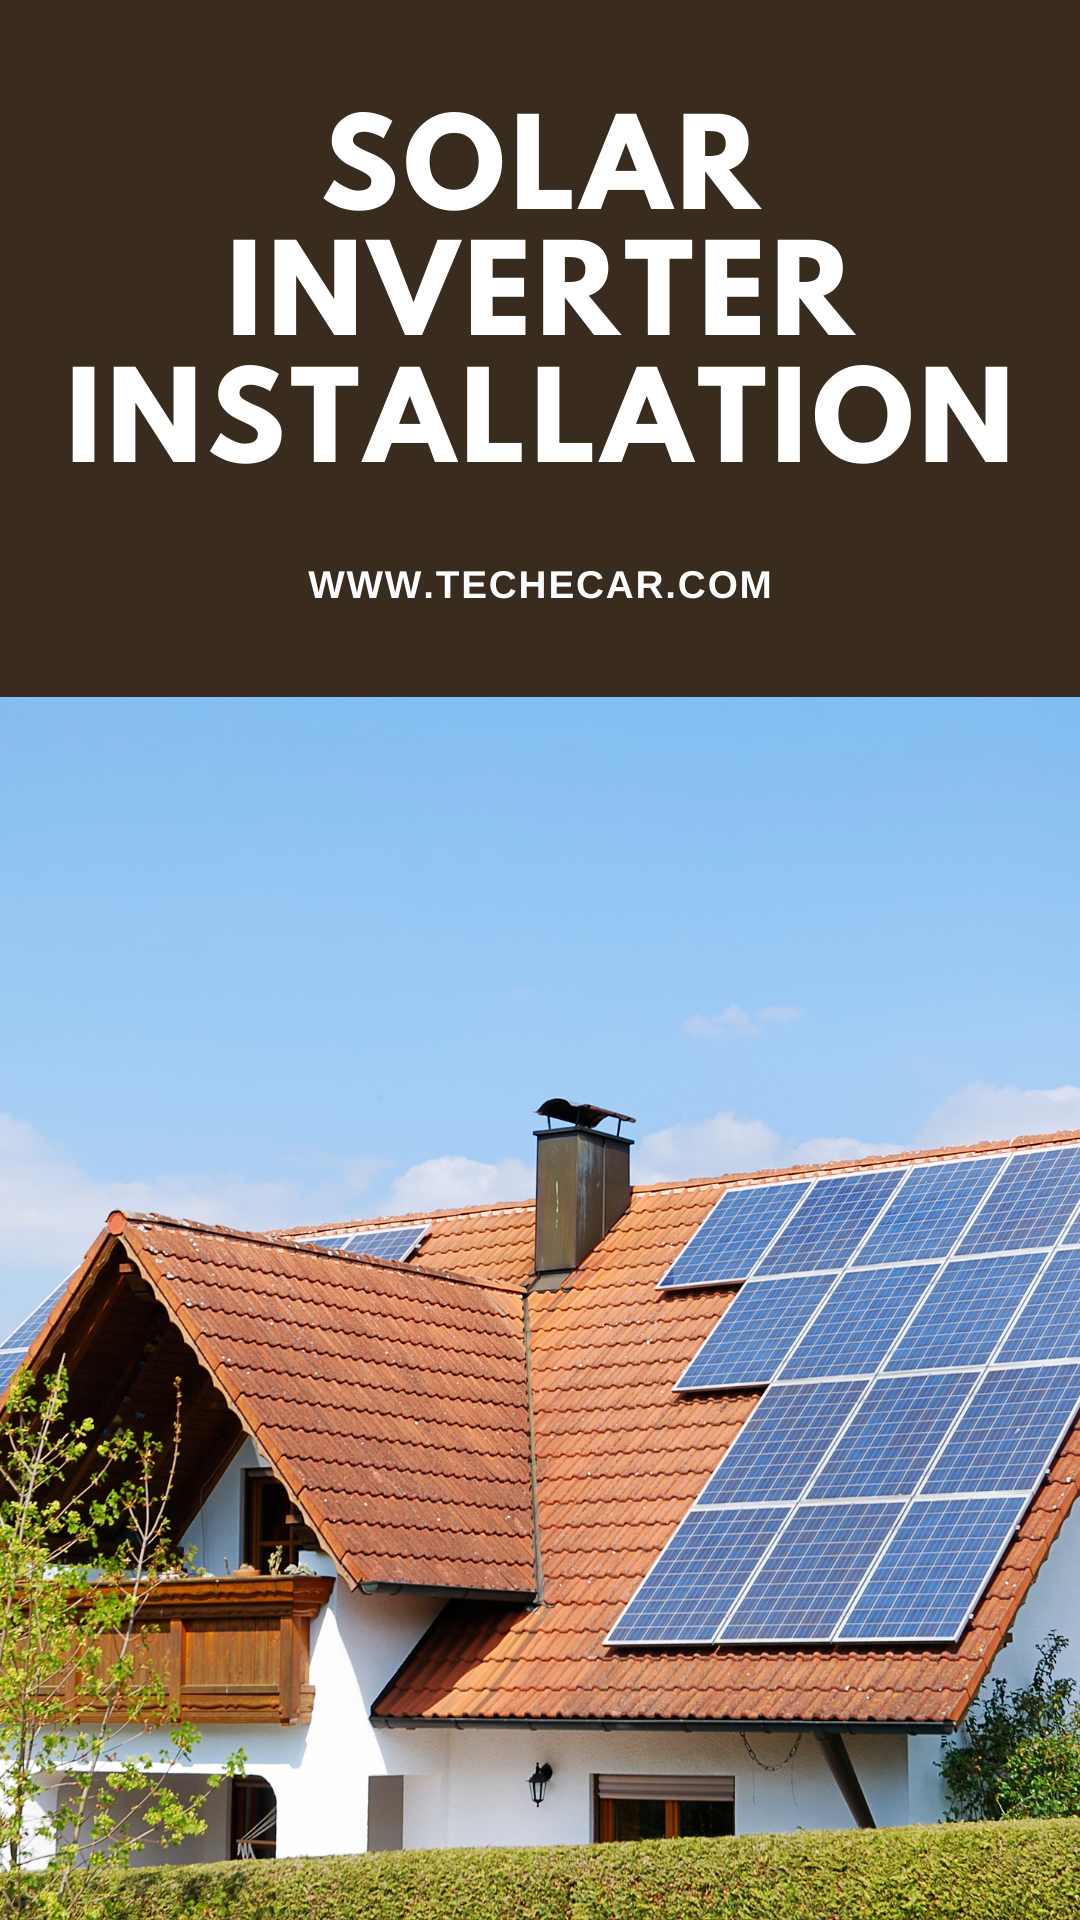

Solar Inverter Installation
A solar inverter is a solar system component that converts the direct current (DC) power produced by solar panels to the alternating current (AC) power required by our home’s electrical system and appliances.
It could be a string inverter, a micro-inverter, or a power optimiser. Microinverters and power optimisers are positioned beneath the solar panels, whereas a string inverter can be installed indoors or outside, depending on the installer’s advice or the homeowner’s needs.
Power optimisers are used with string inverters to optimise power at the solar panel location. An optimiser is the ideal combination of string and microtechnology.
Because the power output of each solar panel varies, there are two ways to connect them to the inverter.
The string technique involves connecting the panels in strings with or without a power optimiser under the panels and then connecting these strings to a central string inverter.
A string inverter without power optimisers may be the most cost-effective and inefficient option, particularly in shaded areas. Its inefficiency stems from the panels connected in a string (like Christmas lights). Because with this connectivity, if a single panel fails, the entire string comprising that panel suffers and goes down, resulting in zero power output for that group of panels.
Microinverters or power optimisers are a more efficient means of connecting solar panels. These inverters or optimisers are positioned beneath each solar panel and convert direct current (DC) to alternating current (AC).
On the other hand, the optimiser keeps the electricity at DC while optimising and individualising the voltage. Microinverters and optimisers are installed for each panel, with a maximum of one installed for every two panels, and are connected beneath the solar panels.
They improve the system’s overall efficiency while adding to the cost of your budget, albeit the cost is offset by the improved overall efficiency of the solar system.
String inverters are typically located near the inverter and electrical equipment.
It can be put easily for the homeowner within or outside the building, such as the garage or basement. A good rule of thumb is to locate a location where you can quickly connect to the existing grid electrical apparatus.
A location away from direct sunlight with adequate air ventilation is ideal for placing a solar inverter. The location should be easy to maintain, preferably moisture resistant, and facing north.
Whether the inverter must be installed indoors or outside, it must have a minimum clearance of at least half a foot on each side and above for air circulation. For any flood or increasing water level situation, it is best to maintain a reasonable ground clearance of roughly 3 feet.
Solar Inverter Installation
Going Solar 101: Installing and Maintaining Solar Inverters
If you’ve been thinking about installing a solar panel system, you’re probably aware of all the components you’ll need. Some of these components may differ depending on the sort of system you’re installing. You’ll still need solar panels, batteries, a charge controller, and an inverter.
With that in mind, here are some fascinating facts to keep in mind to guarantee you’ve chosen the greatest possible inverter for your setup. Because they can vary in capacity, performance, and type, selecting them without prior research may result in mistakes, which you want to avoid.
What is the definition of an inverter?
An inverter is a component of a solar panel system that converts the energy collected by solar panels and stored in batteries into power that can be used in your home. Because the solar energy collected by the panels generates direct current (DC), and practically all household appliances require alternating current (AC), you’ll need an inverter to make this happen.
How many different kinds of inverters are there?
As previously stated, solar inverters are available in a variety of configurations. The three most popular types are as follows:
Inverters for strings
This type of inverter is widely utilised in both home and business applications. This inverter operates by treating the series of panels as one huge panel. The disadvantage is that any problem produced by a certain panel would affect the entire string. String inverters, on the other hand, are usually the cheapest sort. Thus, they’ve been a popular choice.
Microinverters
This sort of inverter is typically put next to a solar panel. This inverter has the advantage of allowing each panel to act as a separate unit. This type of inverter allows for quick and safe installation.
Furthermore, some solar panel manufacturers incorporate microinverters inside the panels themselves. However, these are the most expensive types of inverters, and they require a lot of maintenance.
Inverters located centrally
Central inverters are similar to combined string inverters. They are extremely efficient and simple to install. Furthermore, they are relatively inexpensive. Thus, it is safe to assume that they fall between string inverters and microinverters.
However, it is crucial to note that central inverters are big and noisy. Furthermore, with central inverters, if one system component fails, the entire system may be jeopardised.
So, how about the systems?
When it comes to various systems, there are three primary types:
Self-contained system
When the main grid goes down, the stand-alone inverter system will allow you to use backup power. It is made up of a huge box that may be positioned anywhere in your home, such as a garage or a utility closet.
This technology employs mechanical rotors to convert DC to AC. They are usually connected to the battery itself. When selecting this sort of inverter, choose a high-quality SMA inverter to ensure that everything works correctly for a long period.
The grid-tie system
You can also go with a grid-tie system. This technology allows you to connect your solar panels directly to the power grid. This will allow you to sell any excess electricity you generate back to your energy supplier. The disadvantage of such a system is that it lacks a battery. This means that if there is a power outage, you will also be in the dark.
System hybrid
These are the most expensive systems since they combine the benefits of both previously described methods. Even though they are extremely useful and efficient, they are most typically used in large business settings due to their high cost.
Where should it be installed?
Once you’ve decided on the inverter that best suits your needs and your layout, it’s time to put it in place. Some inverters, such as microinverters, are not to be concerned about because they are normally pre-installed on the panel.
On the other hand, the other varieties should be installed in an area where there is no direct sunlight. You’ll also need to choose a location with adequate ventilation.
The site you chose for them should likewise be free of dampness. You should also ensure that your inverter has enough room on all sides to allow for proper (and necessary) air circulation. You can put it wherever, indoors or out, as long as all of the parameters are met.
What about the upkeep?
Finally, there are some ground rules to follow when it comes to maintenance. First and foremost, you must ensure that your inverter is properly fitted. Furthermore, it would help if you kept it clean.
This implies that you should clean it regularly to remove any dust or cobwebs. Finally, ensure sure it’s not overloaded in any manner and that it’s shielded – or kept away from – any moisture or direct heat sources.
Now that you’re aware of some of the most critical factors to consider when selecting an inverter for your solar home system, you should have an easier time making the appropriate decision.
How to Install a Solar Inverter Effortlessly
At a solar convention, a group of solar installers enjoys lunch and catching up on project stories. The subject of difficult installations is going to come up sooner or later. When one person recalls how a certain solar inverter installation went wrong, everyone else is bound to remark, “Been there, done that!”
The truth is that installing a solar inverter is not as simple as fastening a seat belt or changing a light bulb, though it is getting there. A perfect inverter installation provides improved aesthetics, increased possibilities of passing inspections, reduced risks of error, and the highest level of safety. Here are some pointers to help you install a solar inverter smoothly.
Position and location
Another critical stage in a successful inverter installation is selecting a suitable location. The lifespan of today’s solar technology should be up to twenty years, although the location has a factor in that lifespan.
Although installation in direct sunlight does not nullify many inverter warranties, it is best to practise installing in the cleanest, coolest environment possible.
Finally, these are power electronics. Power electronics will always operate better if they are not derated on hot days, and their components will survive longer if stored in the shade. The position of the inverter is also critical. Consider a location that provides easy access, as maintenance or repairing the inverter may be required after installation.
Such inverter rating of NEMA 4X should be used for an installation. This guarantees that the inverter is rated for extreme conditions, especially when the installation does not allow for a pleasant, shaded location.
When working with electricity, safety should always come first. Always follow safety protocols, adhere to NEC and local codes, and keep in mind to always allow setback space for code and ventilation reasons and code clearance mandated setbacks, gas metres, and vents.
Strings and other things
Wiring and mounting are also crucial aspects of the installation to consider when saving money. Maintain a straightforward approach. Inspectors will scrutinise your installations less if they observe tidy, well-organised wiring.
Some inverters are extremely different from others; deep wiring compartments are difficult to get your hands inside, and adding ground bushings and lugs can be a problem. Well-designed inverters should include space for service loops and zip-tie attachment points to keep wire management neat.
Complex communications
Installing, commissioning, and linking data communications for inverters has traditionally been a difficult operation because inverters employed a variety of communication platforms.
An IT professional with a laptop was frequently required to connect an inverter to the internet. Through today’s technology, connections may be made with Wi-Fi and a smartphone app; an installation can even delegate the process to the homeowner.
SunSpec Modbus has become the industry standard for commercial communications to third-party devices because it is easy to wire and allows for plug-and-play integration and provisioning.
Learn about codes and items.
Another important factor in effective installations is product familiarity. Lightweight and ergonomic inverters are the easiest to install. Some manufacturers, such as Fronius, have also made inverter commissioning easier by offering a product line with the same displays and interface and pre-configuring the inverters depending on the typical use. It is only necessary to do basic AC and DC testing and turn on the inverter.
Furthermore, since the solar industry advances and the NEC code changes, it is critical to stay current on the most recent regulations. Inverters are continually changing to satisfy new requirements such as arc-fault protection, quick shutdown, and all of the advanced grid features required for tomorrow’s Smart Grid. Inverter manufacturers are under pressure to provide seamless, easy-to-install systems.
Customer education
It’s also a good idea to educate the customer on power electronics. Customers will typically require post-installation assistance with servicing and commissioning the inverter as needs arise throughout the life of their system.
A customer prepared to handle the inverter’s post-installation life will save time and money, laying the groundwork for a happy experience with solar energy. It can be good to leave the owner’s handbook with customers to learn the basics of their system, reducing calls and time spent addressing basic queries.
Web-based monitoring allows users to view their system at any time using smartphones, and it can send warnings if there is a problem with their system. Web-connected inverters can also be seen by inverter firms’ Technical Support Teams, who can provide remote troubleshooting and service.
People Also Ask:
Where should a solar inverter be installed?
A location away from direct sunlight with adequate air ventilation is ideal for installing a solar inverter. The location should be easy to maintain, preferably moisture resistant, and facing north.
How much does it cost to install a solar inverter?
The installation of an inverter typically costs between $1000 and $1500, depending on the solar installation size (in watts).
Can solar inverters be installed inside?
Most solar inverters can be installed outside, although it is preferable to install them within if at all possible. If it is not possible to keep them indoors, they should be kept out of the elements. Aside from weather exposure, there are numerous additional factors to consider when deciding where to install your solar inverter.
How do I connect my solar inverter to my house?
Connect the solar panels either directly to a power inverter and then to the home power grid or the inverter and then to the home power grid. This power inverter turns solar energy into usable energy at home.
How to connect solar panel to existing inverter?
A solar conversion kit, also known as a solar charge controller, must be installed to convert an existing inverter into a solar inverter. A solar charge controller is a small gadget that links a solar panel to an inverter. There is an inverter plug-in slot on the solar charging controller.
How far can solar panels be from inverter?
If your home is grid-connected, you can put the inverter inside or outside the building near the metre box. Overall, the solar panels and inverter should be near together, and the wiring from the panels to the home should not be more than 30 feet long.
How to connect solar inverter to Wi-Fi?
Go to the “WLAN” tab and seek for the inverter’s local wi-fi network to synchronise this with your local wi-fi network. Select the “Settings” icon for that wireless network. If DHCP is enabled on the router, it will allocate an IP address to the inverter.
Recommended Articles:


